PipeOps provides different types of services for your application, including databases. This guide walks you through how to deploy a database and connect it to your application.
For the purpose of this guide, we’ll be deploying MongoDB.
Deploy a Database
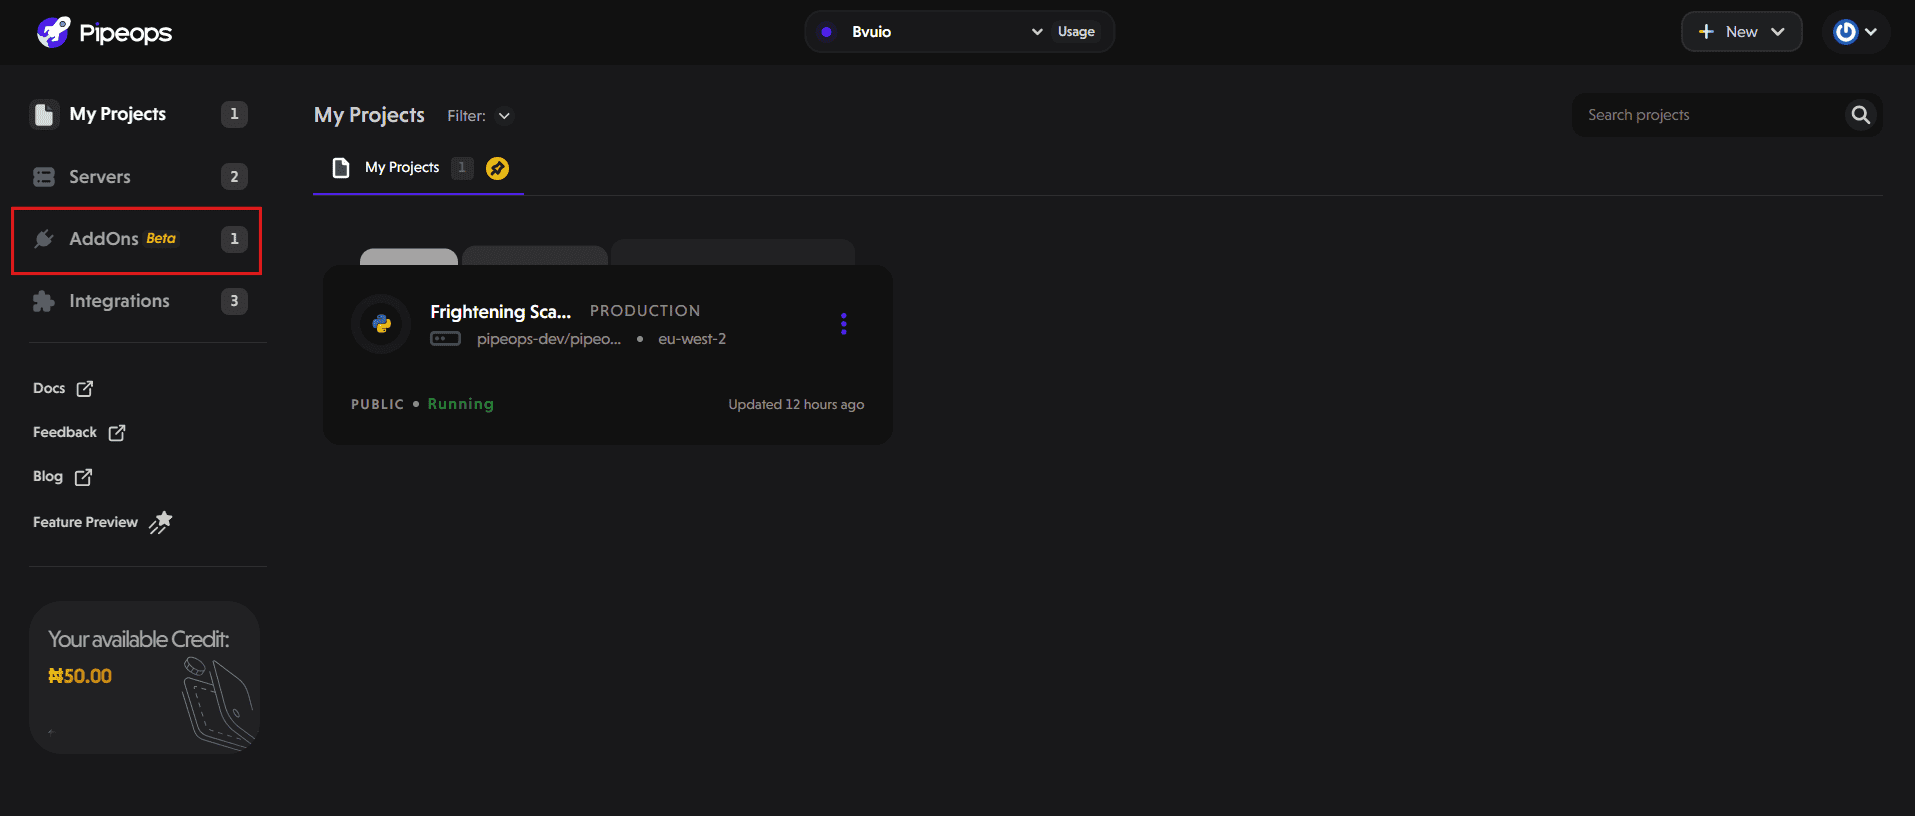
Deploying a database on PipeOps is designed to be straightforward, even for users with minimal experience. Log in to your PipeOps dashboard and select AddOns from the sidebar navigation menu.
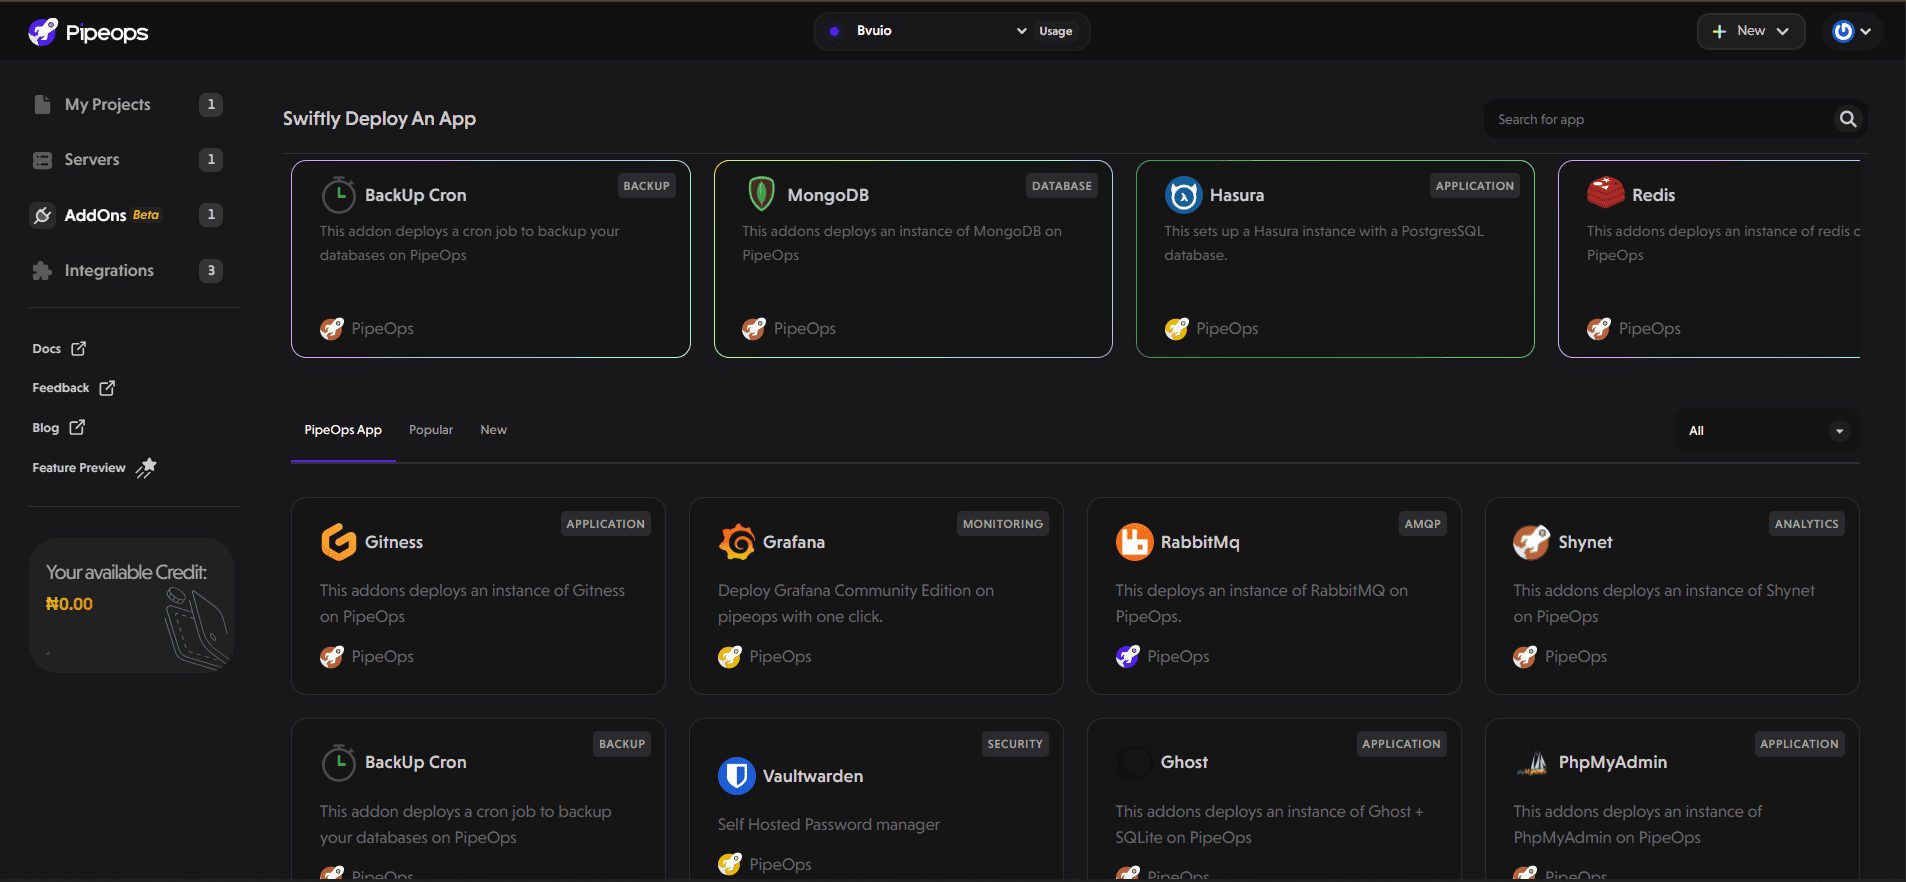
Select your desired database from the addon marketplace. You can use the search bar if the database is not immediately visible.
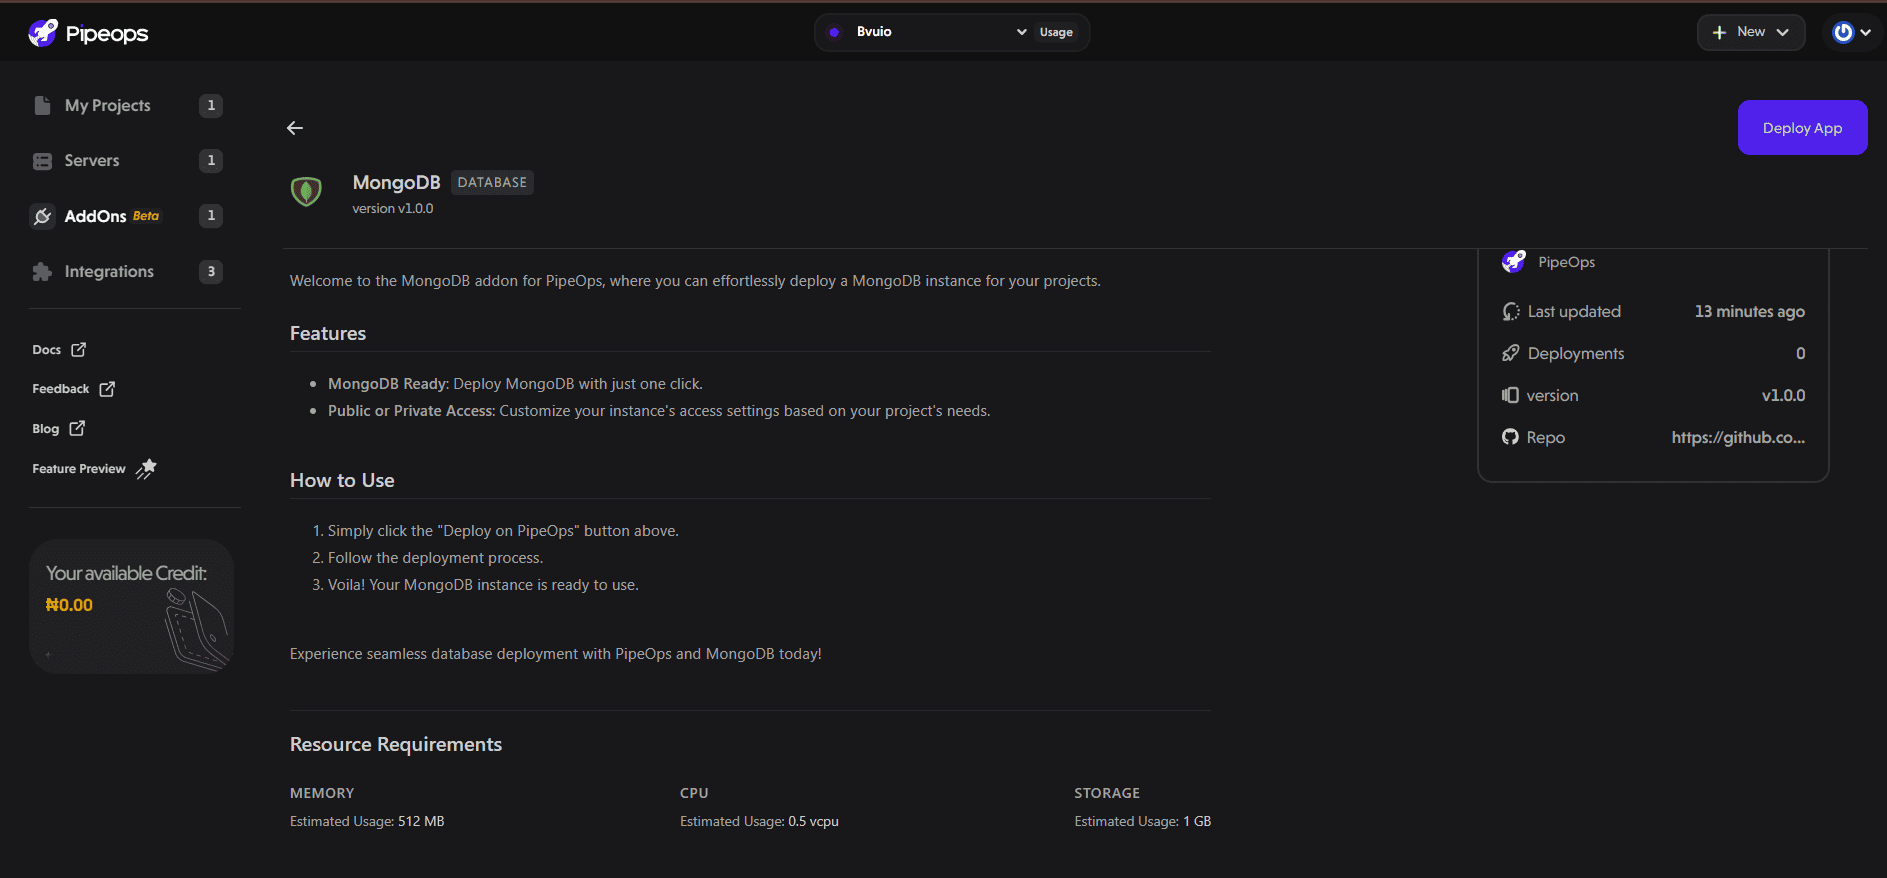
On the add-on details page, click on “Deploy App.”
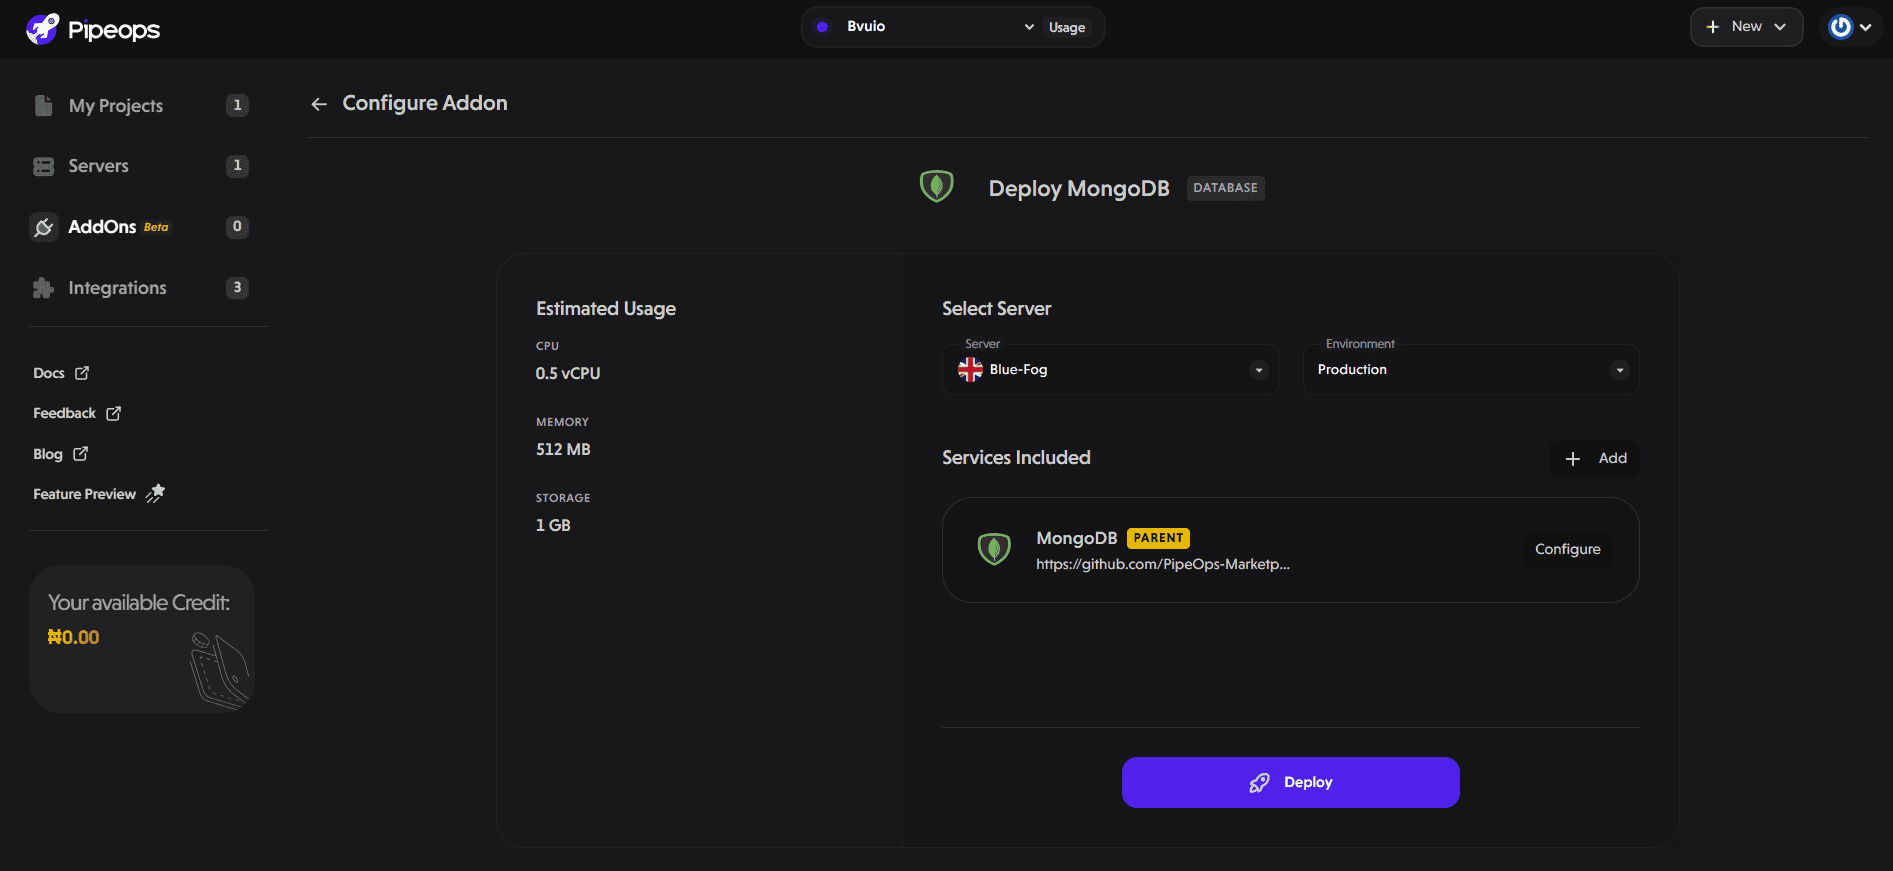
On the configuration page, select your desired server and environment.
PipeOps allows communication only over a private network at the moment. To ensure successful connection, both the application and the database must be deployed on the same server. Internal networking only works across services running on the same server on PipeOps.
Click on “Deploy” to start the deployment process. In a few seconds, your database instance will be successfully deployed.
Retrieve Database Connection Details
Click on your deployed database. On the overview tab, you’ll find the connection details for your database. For instance, for our MongoDB instance, we’ll find the following parameters:
  userName
   password
   databaseName
   port
   Host
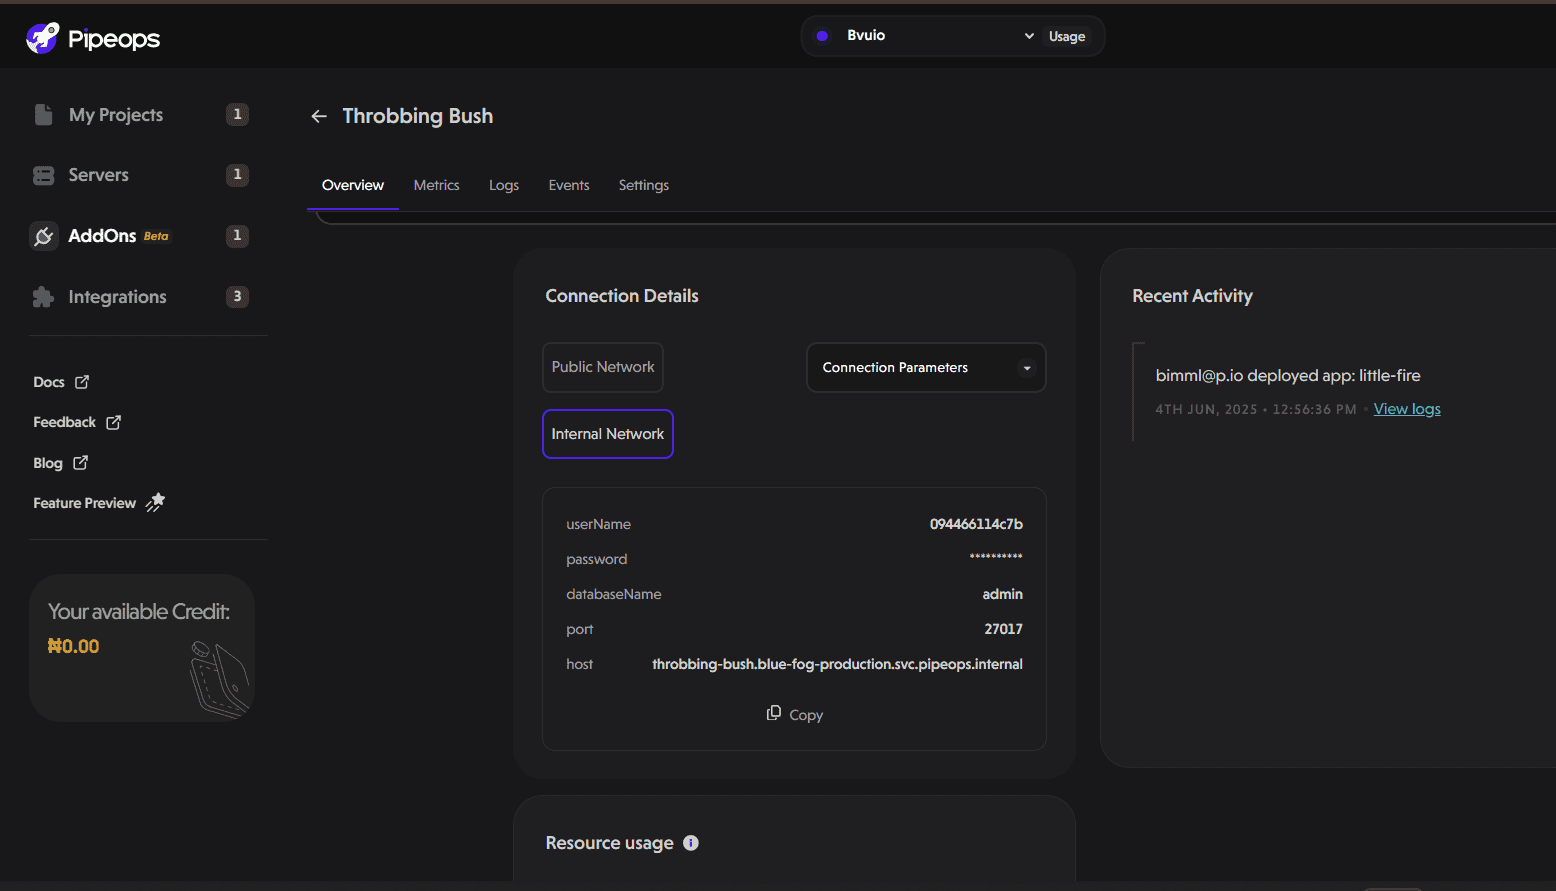
You can click on the dropdown under connection details to find your connection string.
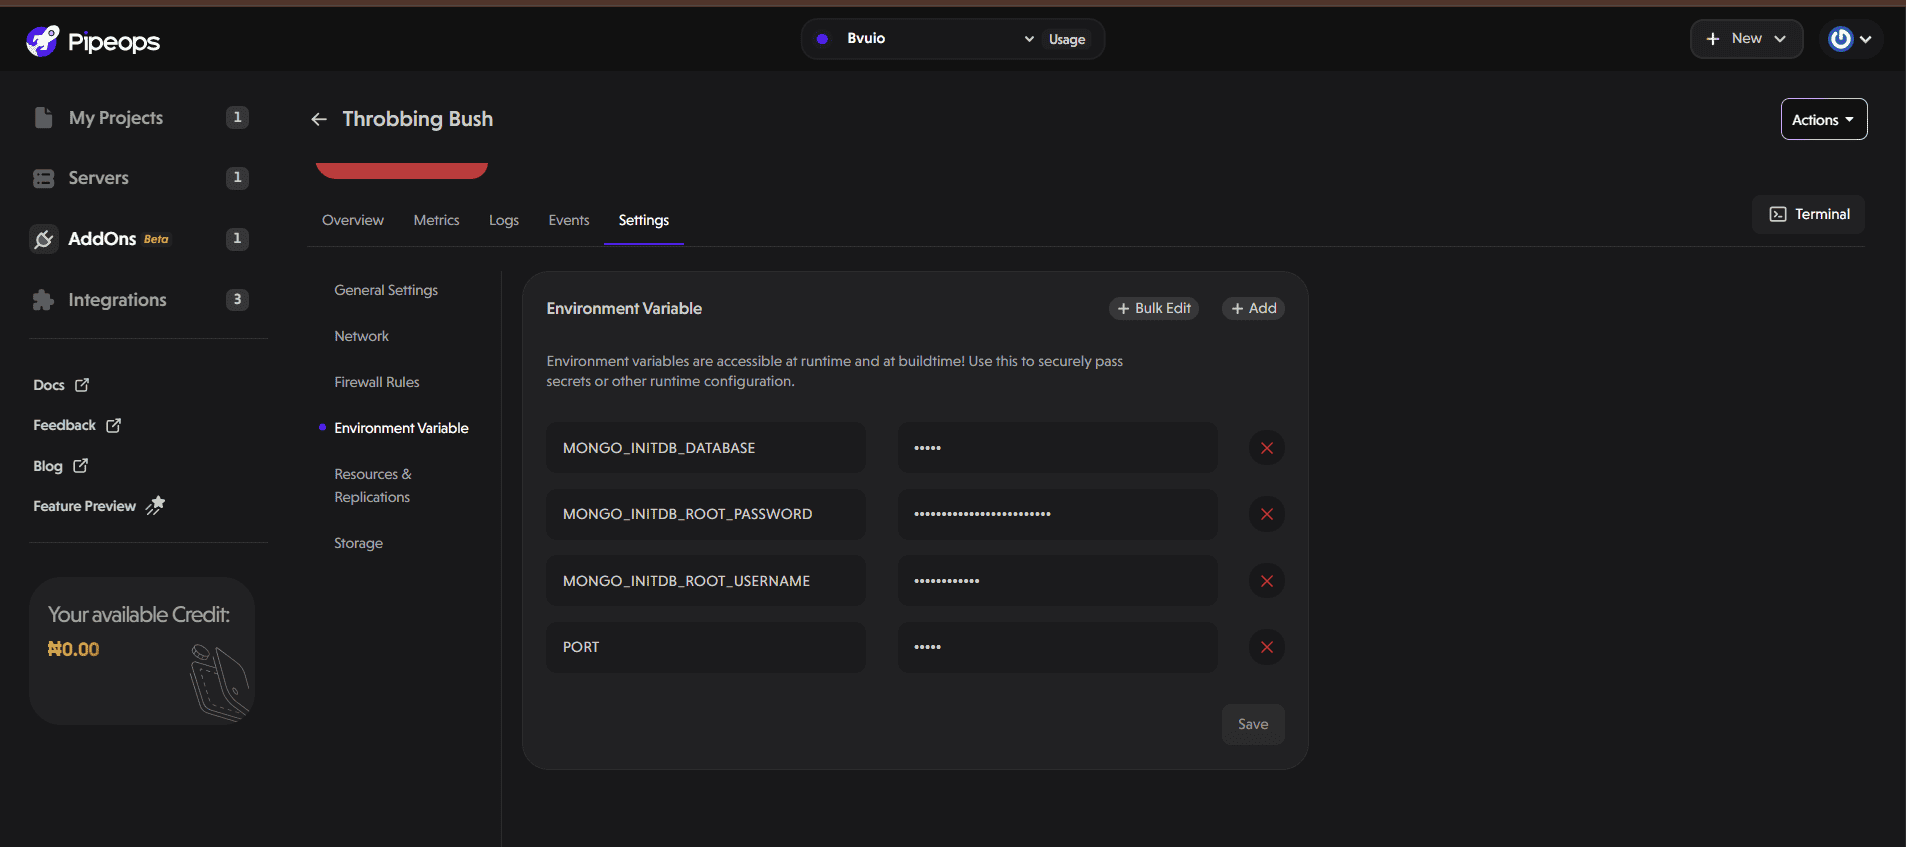
These parameters are also available in the environment variables section of your deployed database. Click on the settings tab and select environment variables.
Connect Your Application
In your app’s environment variables, set the database connection string copied earlier.
You can connect to your database from another service in your project by referencing the environment variables made available in your database settings tab.
Many libraries will automatically look for the DATABASE_URL variable and use it to connect, but you can use these variables in whatever way works for you.
For this guide, we will have an environment variable setup using MongoDB URI:
MONGO_URI=mongodb://user:password@host:port/databaseName
Let’s deploy our application.
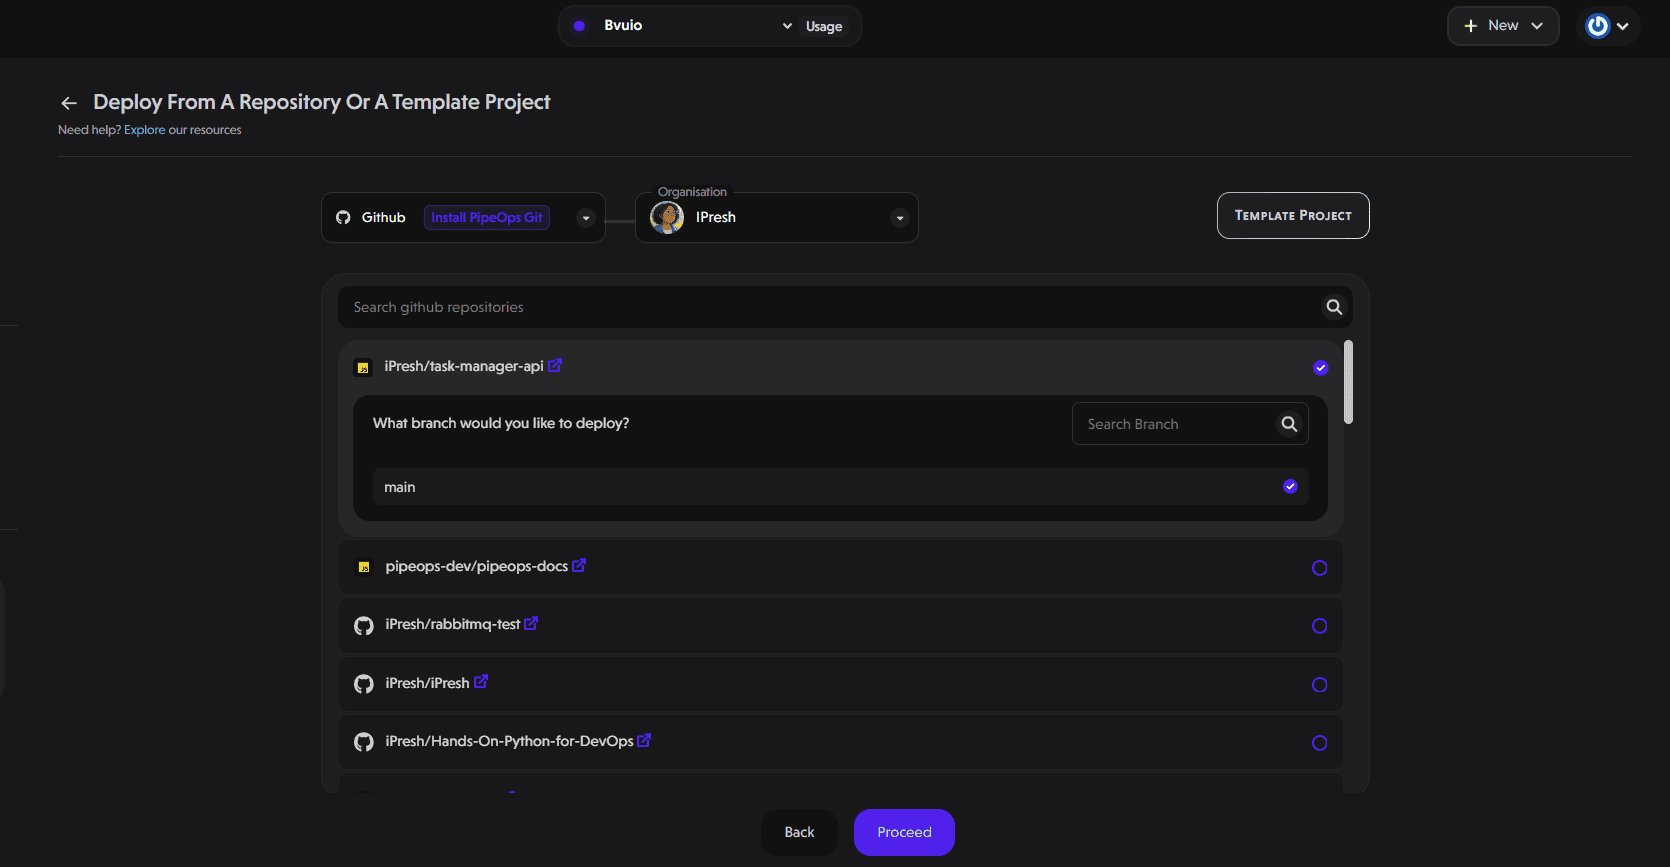
Click the "+ New" button at the top right of your dashboard to deploy your application.
Next, select your repository and the branch you'll deploy from. Click "Proceed" to continue.
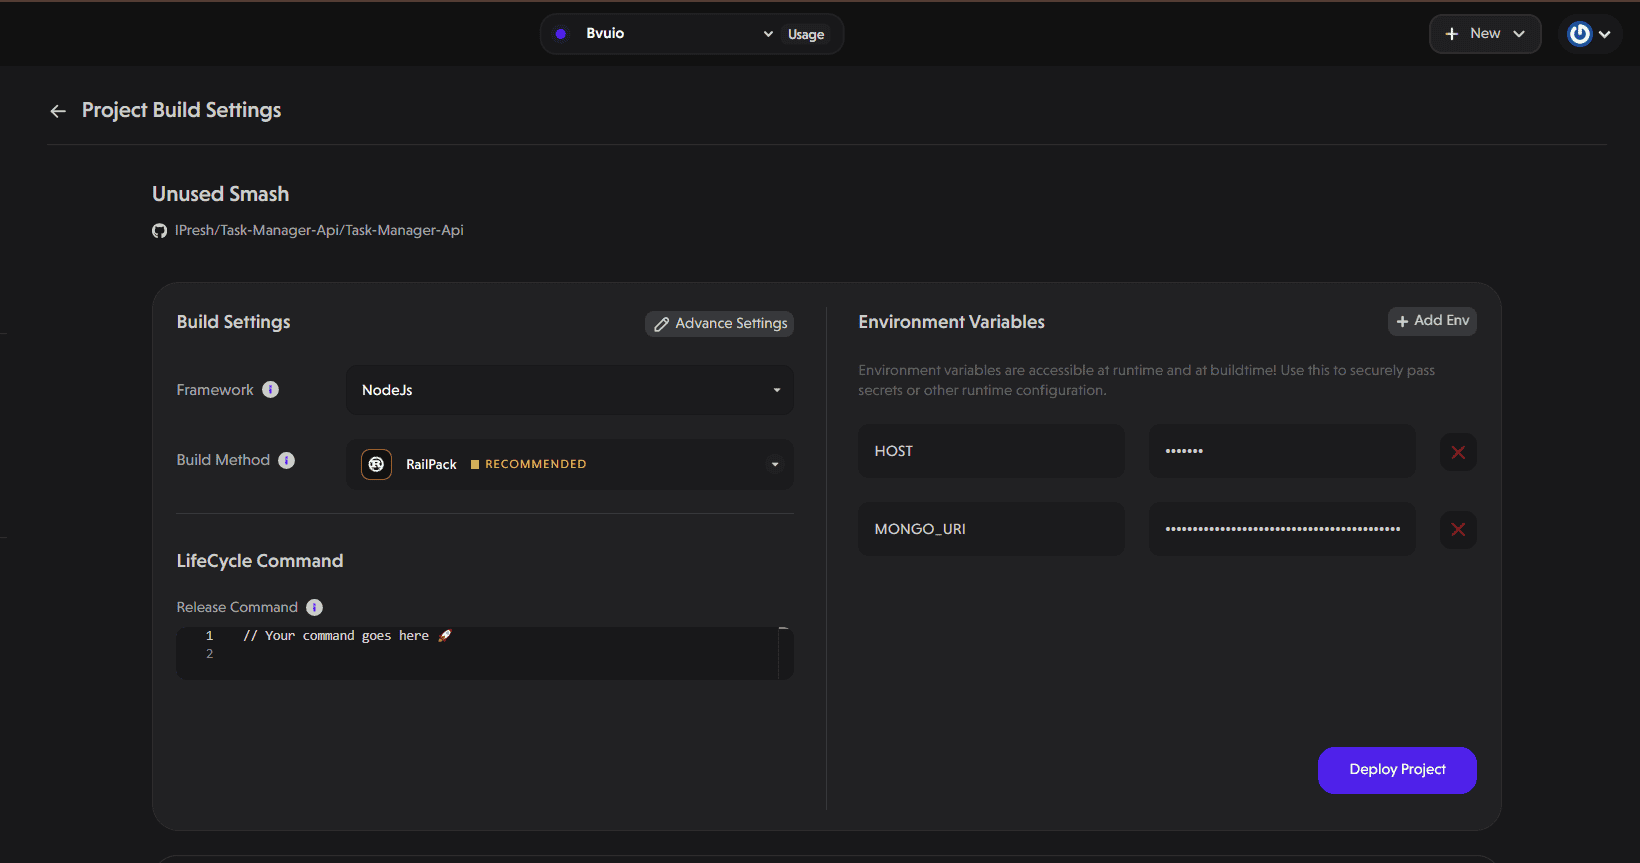
Select your framework on the Build Settings page. Under Environment Variables, we’ll add:
Key: MONGO_URI

Value: mongodb://user:password@host:port/databaseName
Replace “user” “password” “host” “port” and “databaseName” with the actual values from your database connection parameters.
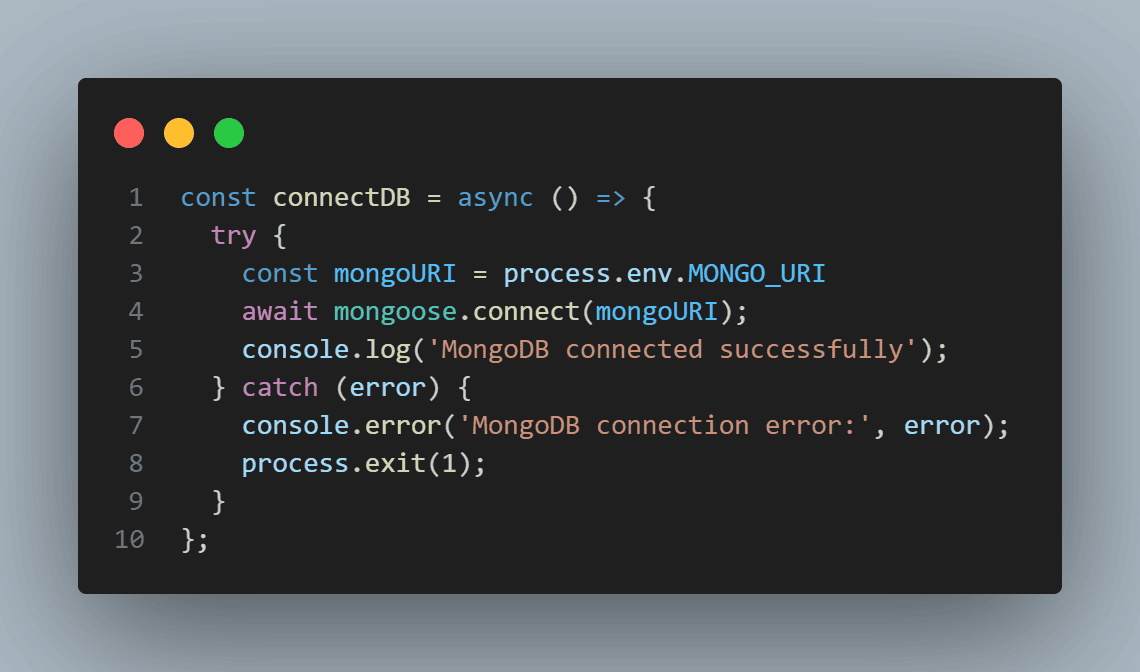
Also, ensure your app’s database client will be using the connection string.
For example, in our nodeJS app, we have:
Click "Deploy Project" to start the deployment process.
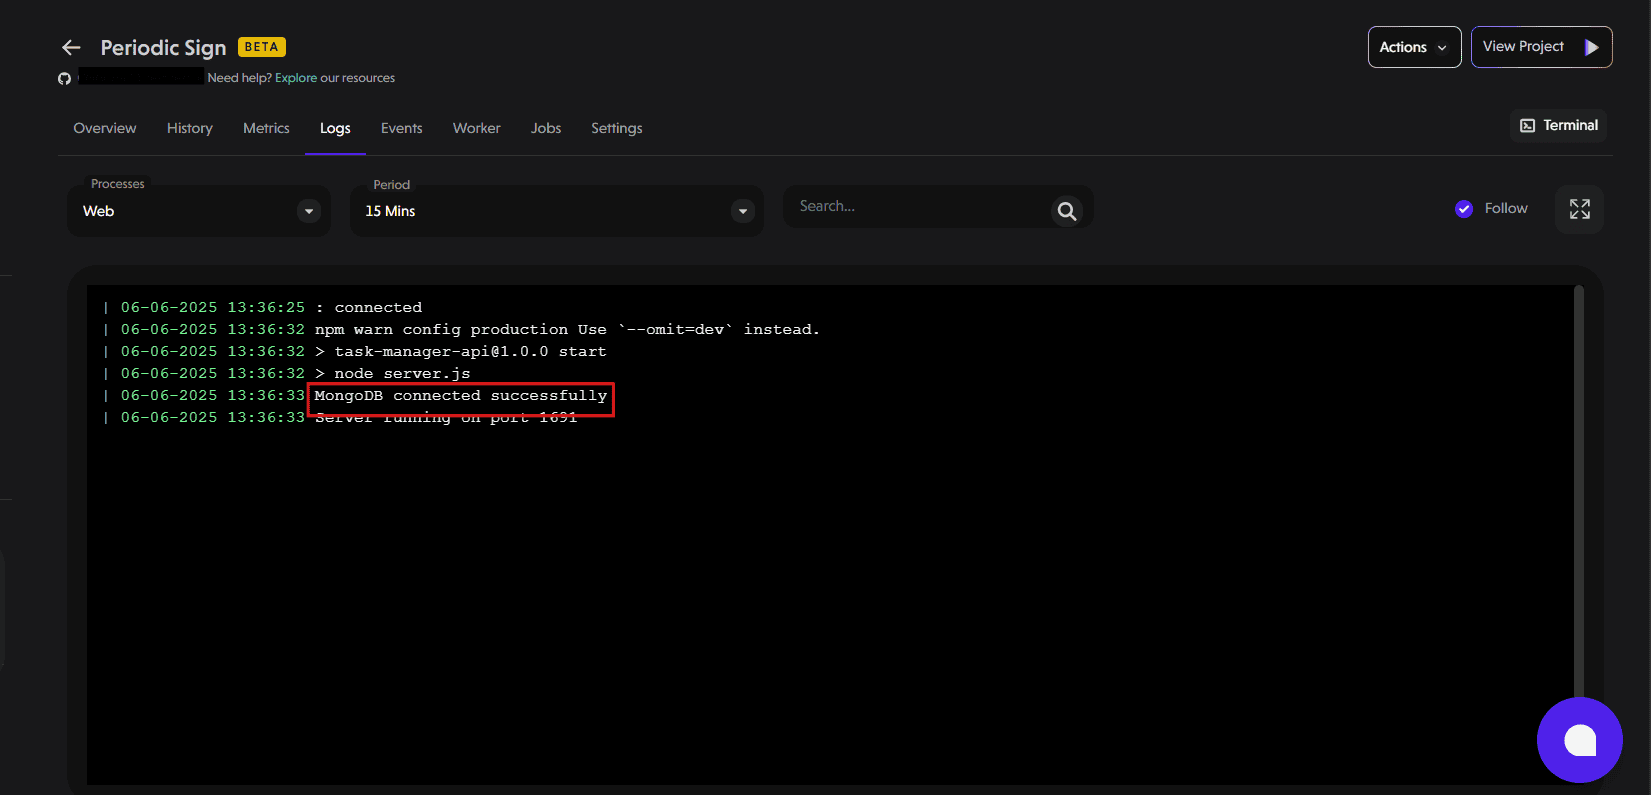
When we check our app logs, we’ll see a successful connection as shown below:
You’ve now seen how to set up a working connection between your application and a database on PipeOps. This approach works similarly for other databases like PostgreSQL or MySQL too.