Flask On PipeOps
PipeOps is the ideal platform for deploying your Flask applications due to its robust support. As you read on, you'll discover just how effortless it is to deploy your project.
Getting Started
For a quick and hassle-free start, you can clone our pre-built Flask template from here. This template comes with a Dockerfile that will be used during deployment. However, if you already have a project to deploy, you'll need to create a Dockerfile and copy the relevant information from our Flask template Dockerfile into your project's Dockerfile.
Here's an example Dockerfile based on our Flask template:
# Set the base image to Python 3.9
FROM python:3.11.0

# Set environment variables
ENV PYTHONUNBUFFERED 1
ENV PYTHONDONTWRITEBYTECODE 1

# Set the working directory to /app
WORKDIR /app

# Copy the requirements file into the container and install dependencies
COPY requirements.txt .
RUN pip install --no-cache-dir -r requirements.txt

# Copy the application code into the container
COPY . .

# Expose port 5000 for the Flask application
EXPOSE 5000

# Start the Flask development server
CMD ["python", "manage.py", "0.0.0.0:5000"]
Deploy Your Project
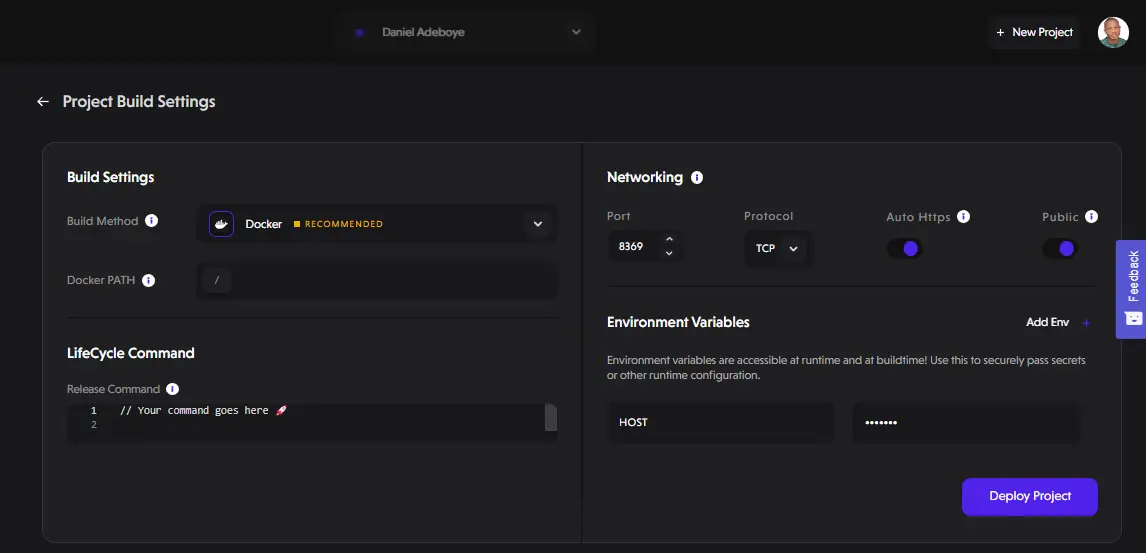
We assume that you've gone through our get started guide. If not, you can access it here. Once you've gone through the guide, you can proceed to connect your PipeOps account to your preferred git provider and select your project. In the image below, you'll find the necessary configurations for your Flask project. After completing these configurations, you can click on the "Deploy Project" button to deploy your project.
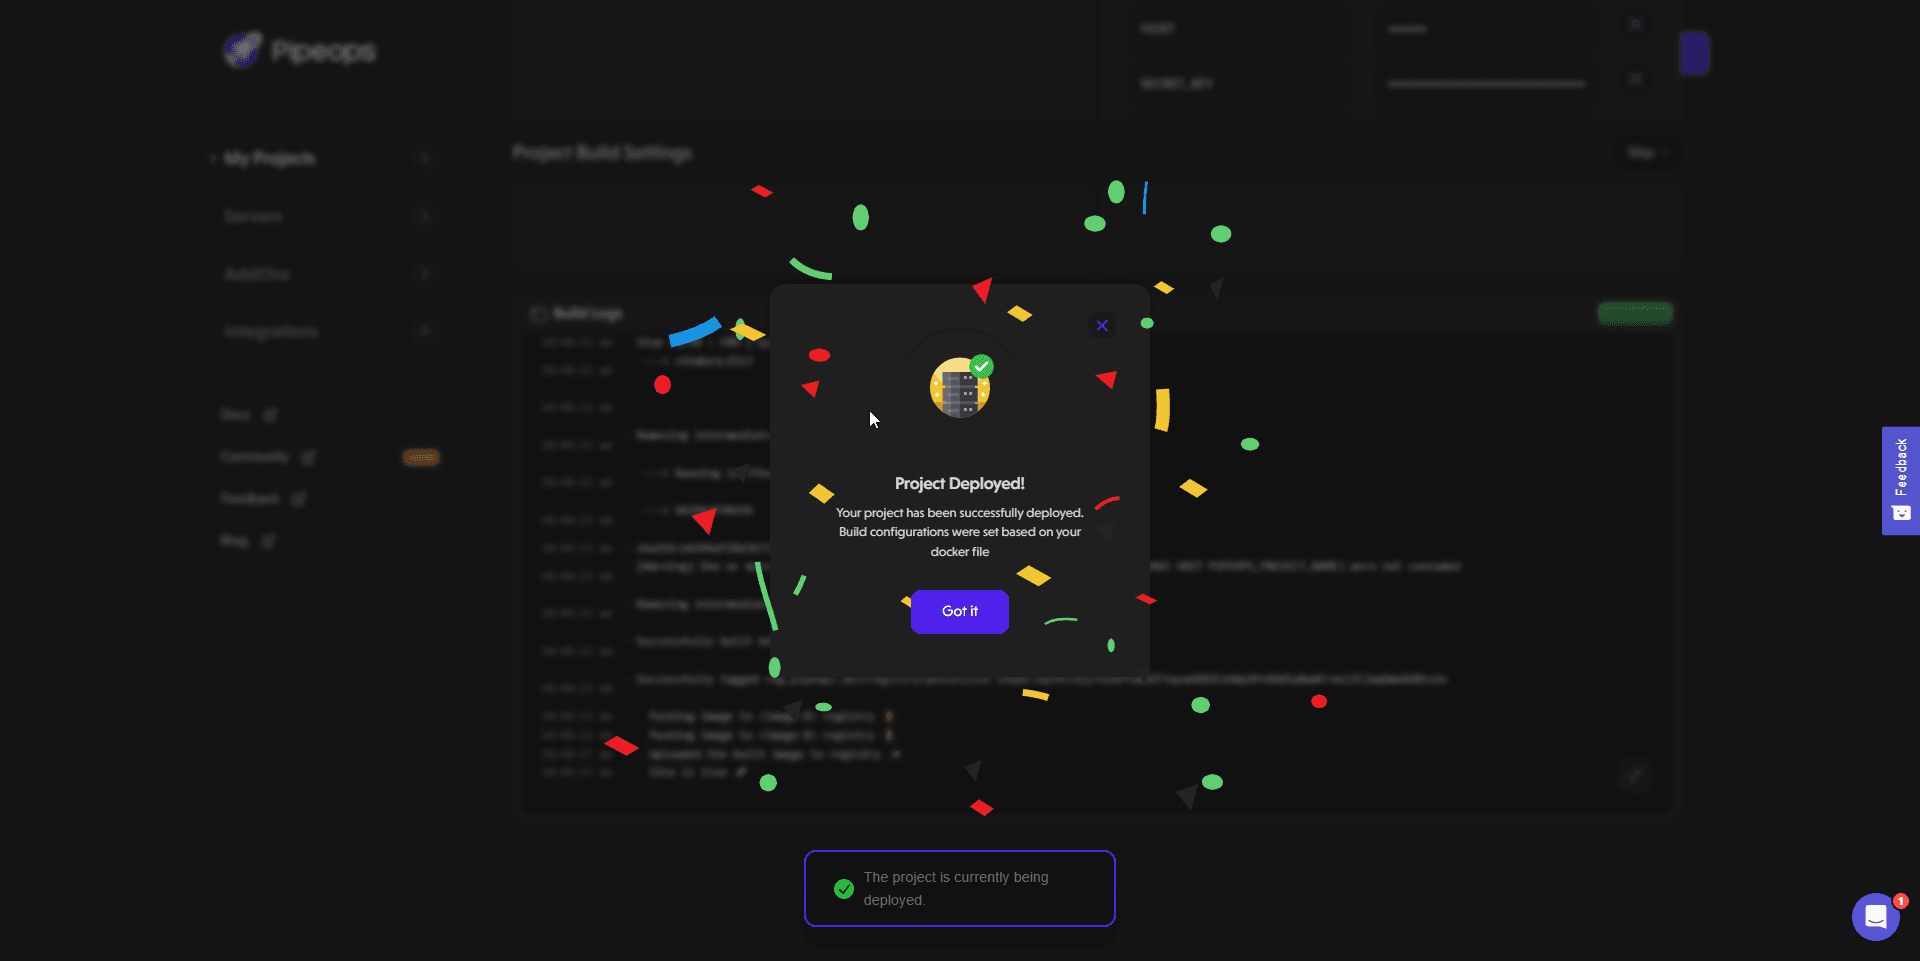
👍 Awesome!, You have now deployed your Flask project.