How to enable the database studio feature on PipeOps
Database Studio (sometimes referred to as a database IDE or database management tool) provides a visual interface for interacting with your databases. It removes much of the complexity associated with command-line tools or manually writing SQL scripts, making database management faster and more intuitive.
With PipeOps’ embedded Database Studio, you can manage and interact with your databases visually, directly from your PipeOps dashboard.
A database studio simplifies tedious database tasks
With these features, managing your database becomes less of a hassle
-
Database operations: Create, modify, and delete database objects such as tables, schemas, users, and permissions.
-
SQL editor: Write and execute queries using an advanced editor with syntax highlighting, auto-completion, and error detection.
-
Data management: View, edit, import, and export data in formats like CSV and JSON.
-
Performance monitoring: Monitor database performance, analyze query execution plans, and identify optimization opportunities.
-
Visual design tools: Use visual schema tools such as Entity-Relationship Diagrams (ERDs) to design and understand database structures.
-
Automation & Reporting: Automate routine tasks, generate reports, and compare or synchronize schemas across environments.
And now you can access all this directly on PipeOps in a few simple steps.
Step 1: Deploy a database
Before you begin, ensure you have a PipeOps account. If you don’t already have one, sign up at pipeops.io. Read our quick guide here
-
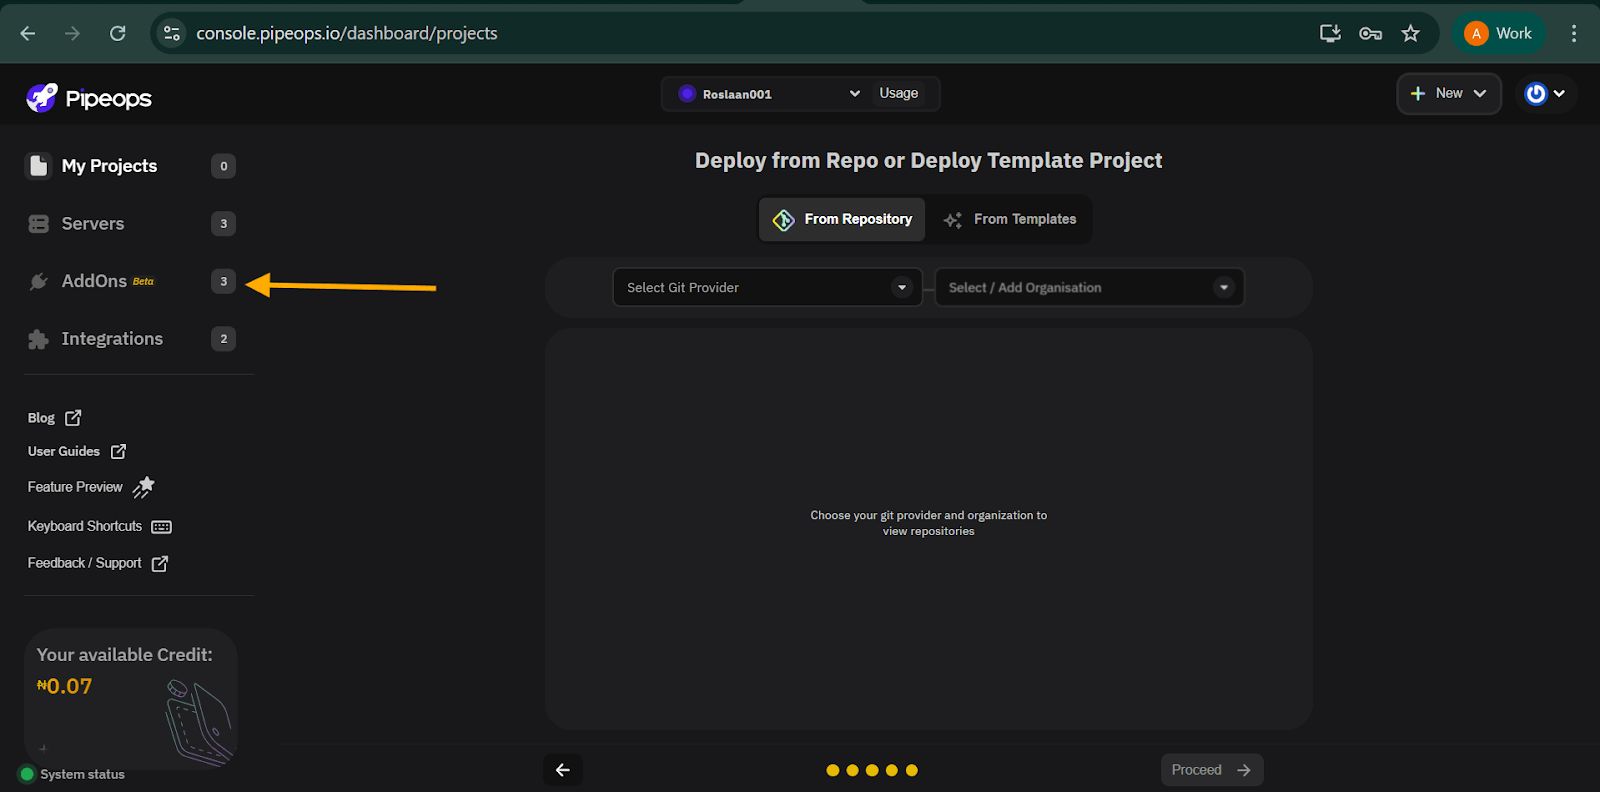
Log in to your PipeOps dashboard.
-
Cick on AddOns from the main navigation. Our Add-ons page provides access to various tools such as databases, container registries, cloud-native tools, and more.
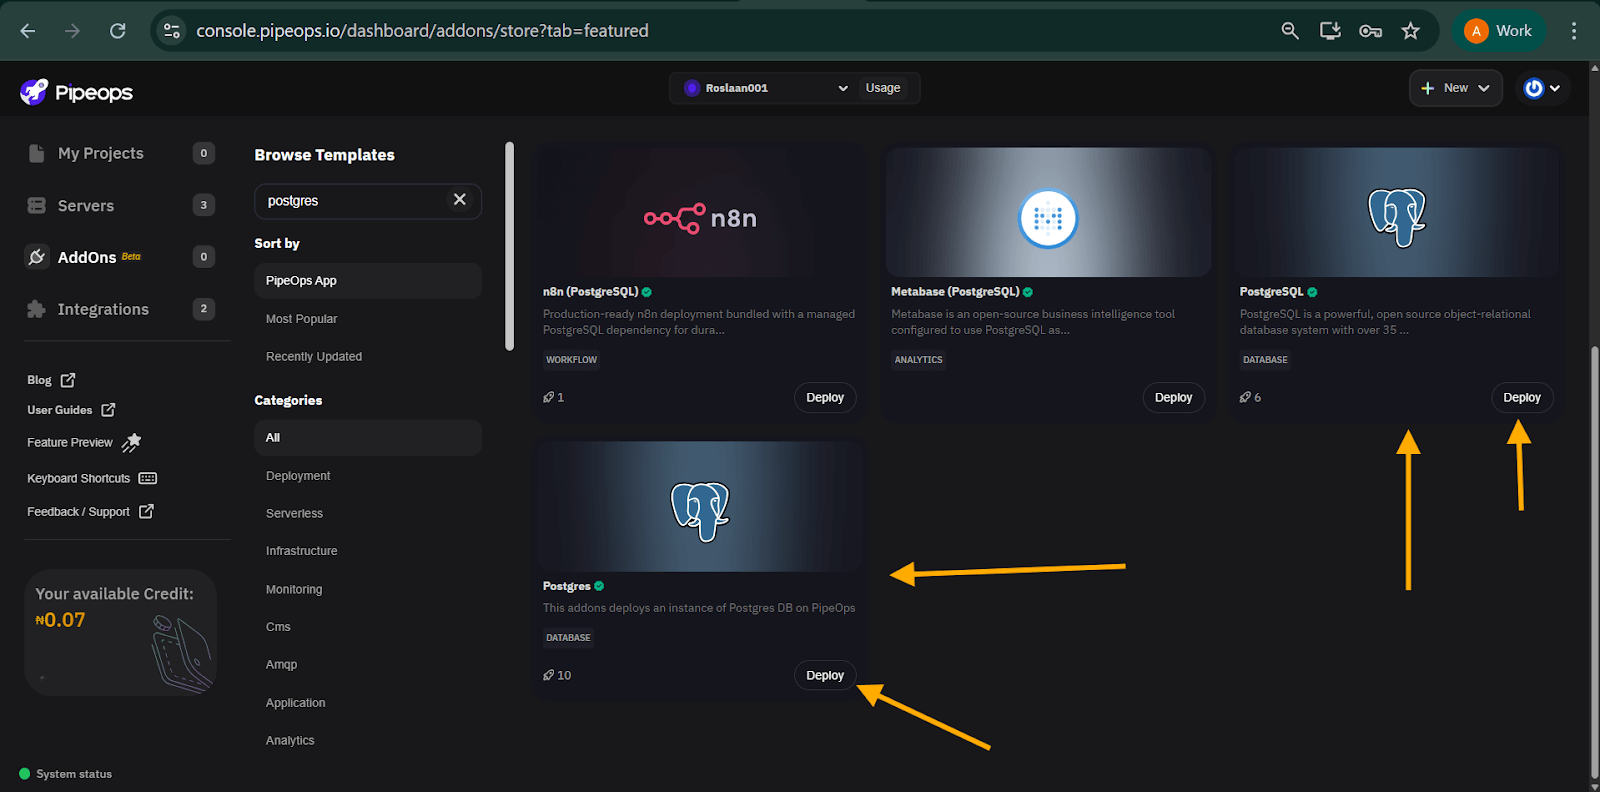
Our embedded Database studio supports both SQL and NoSQL databases, including:
- PostgreSQL
- MySQL
- MongoDB
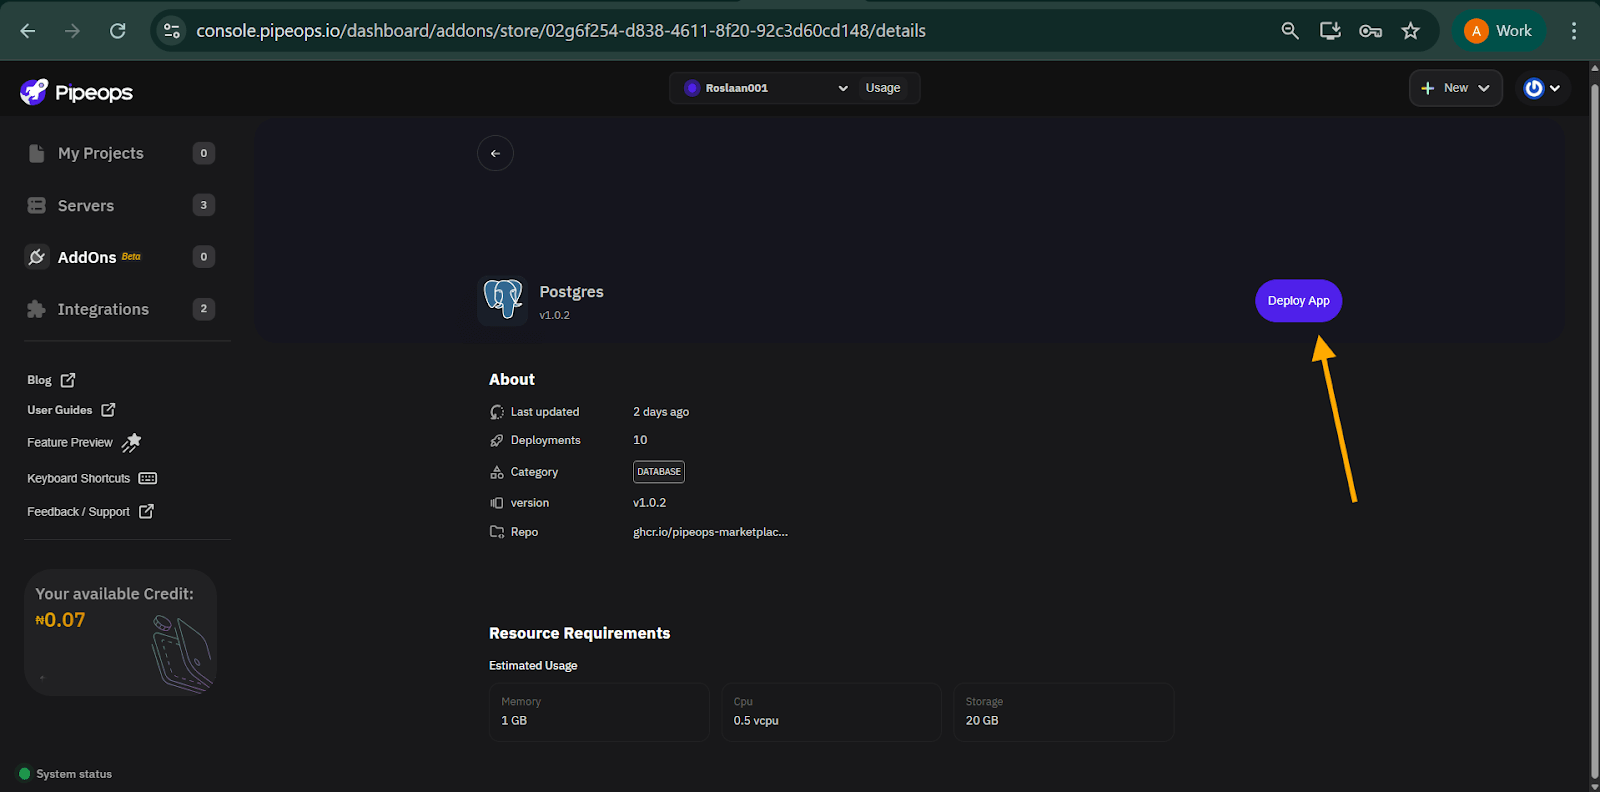
For this guide, we’ll use PostgreSQL as an example. Find the Postgres Add-on using the search bar and click “deploy” on any of the Postgres versions. On the add-on details page, click “Deploy app”.
- Configure and Deploy your database
Our configuration page gives you the flexibility to customize your deployment. You can stick to all the defaults or make any of these changes:
- Select the server where the database will be deployed
- Choose your environment
- Review and edit environment variables (preconfigured by default)
- Configure storage (default is 20GB, but you can increase it)
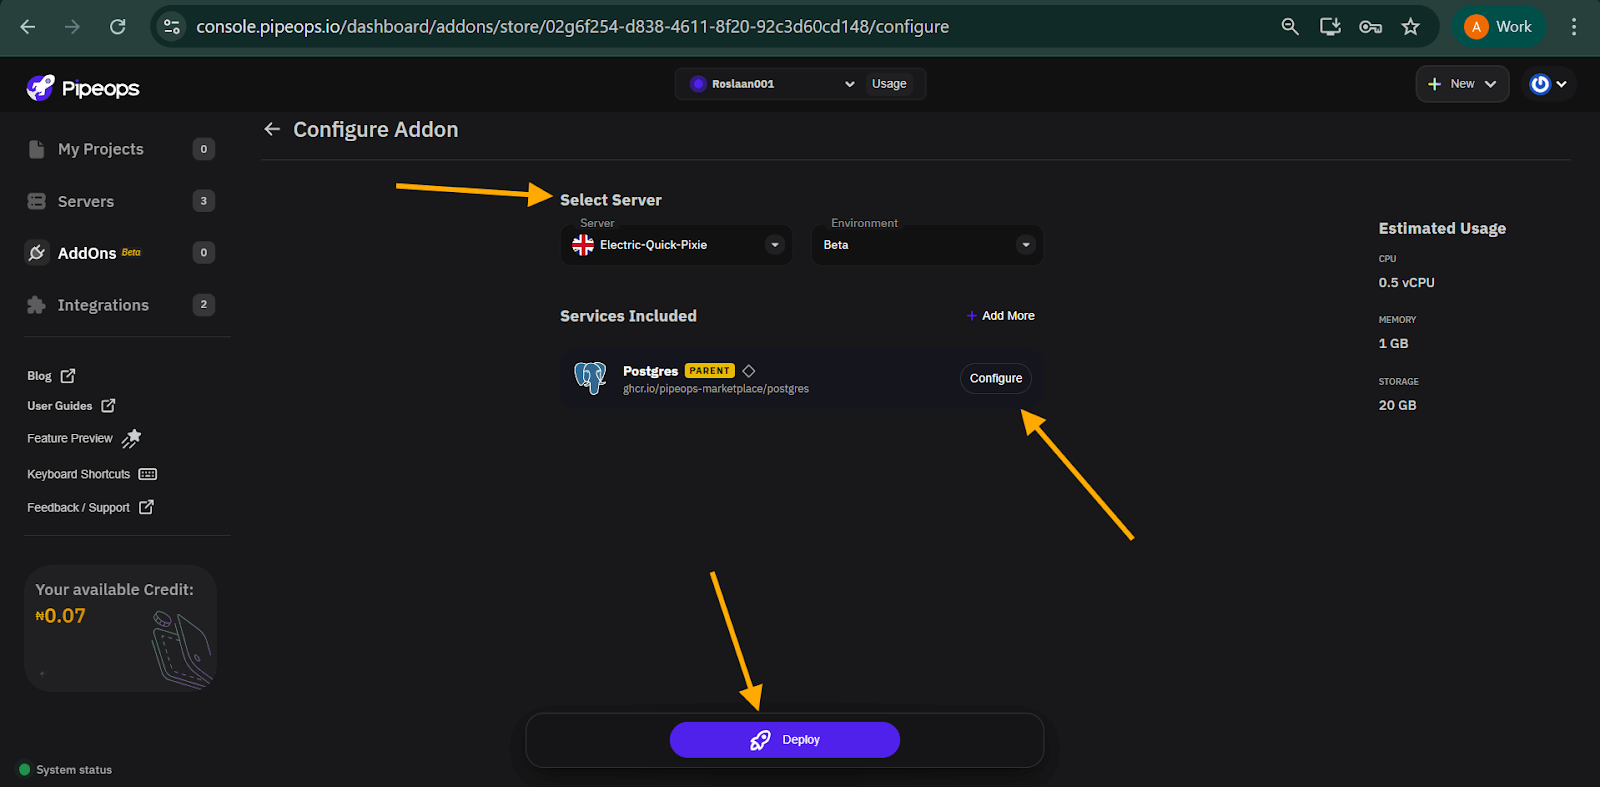
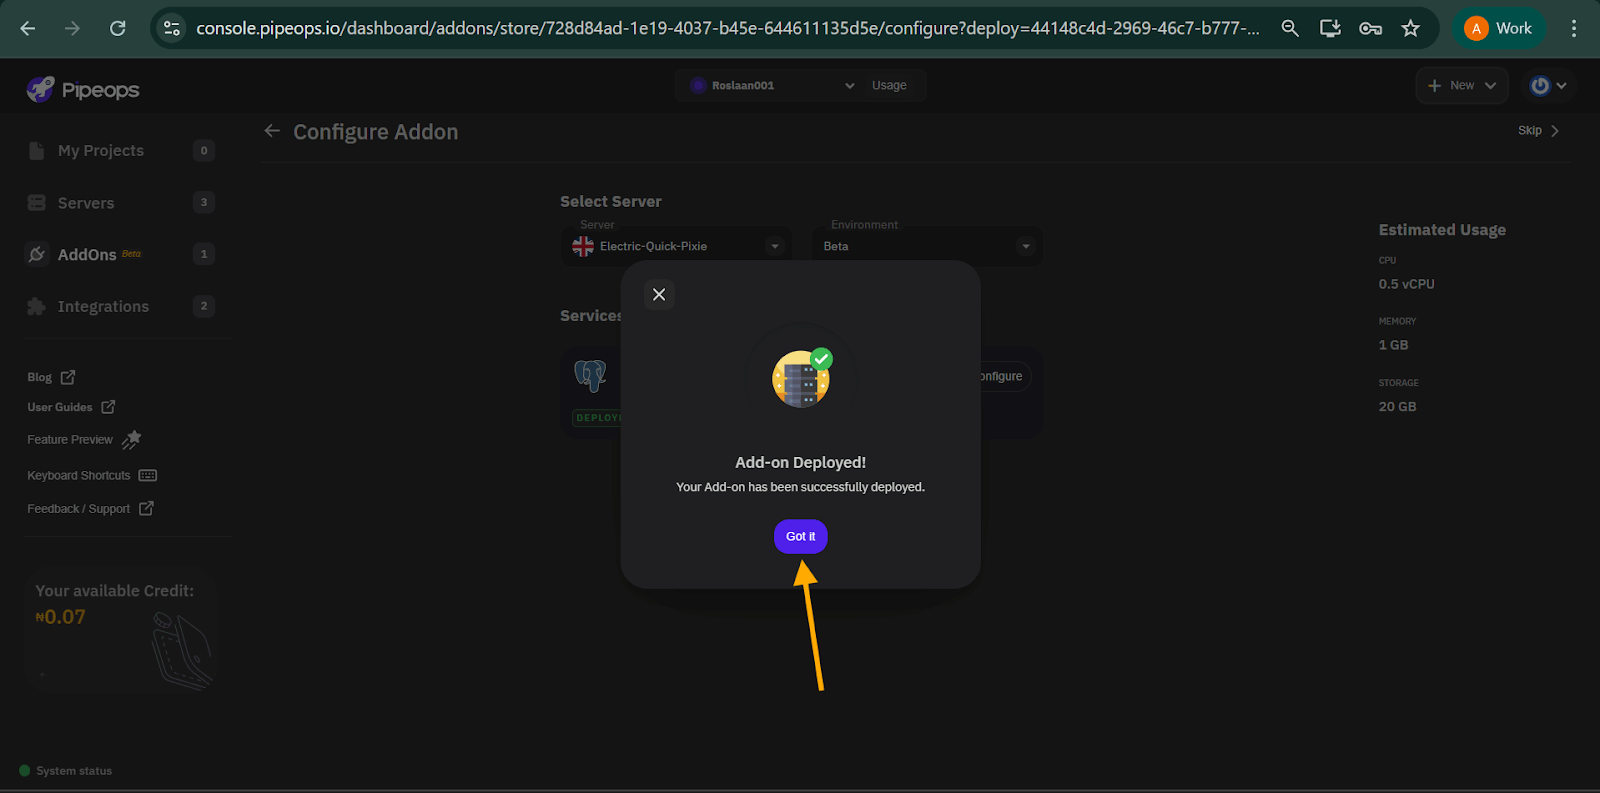
Once you’re satisfied with the configuration, click Deploy. You’ll receive a notification confirming that your add-on has been successfully deployed. Click Got it, and you’ll be redirected to your project dashboard.
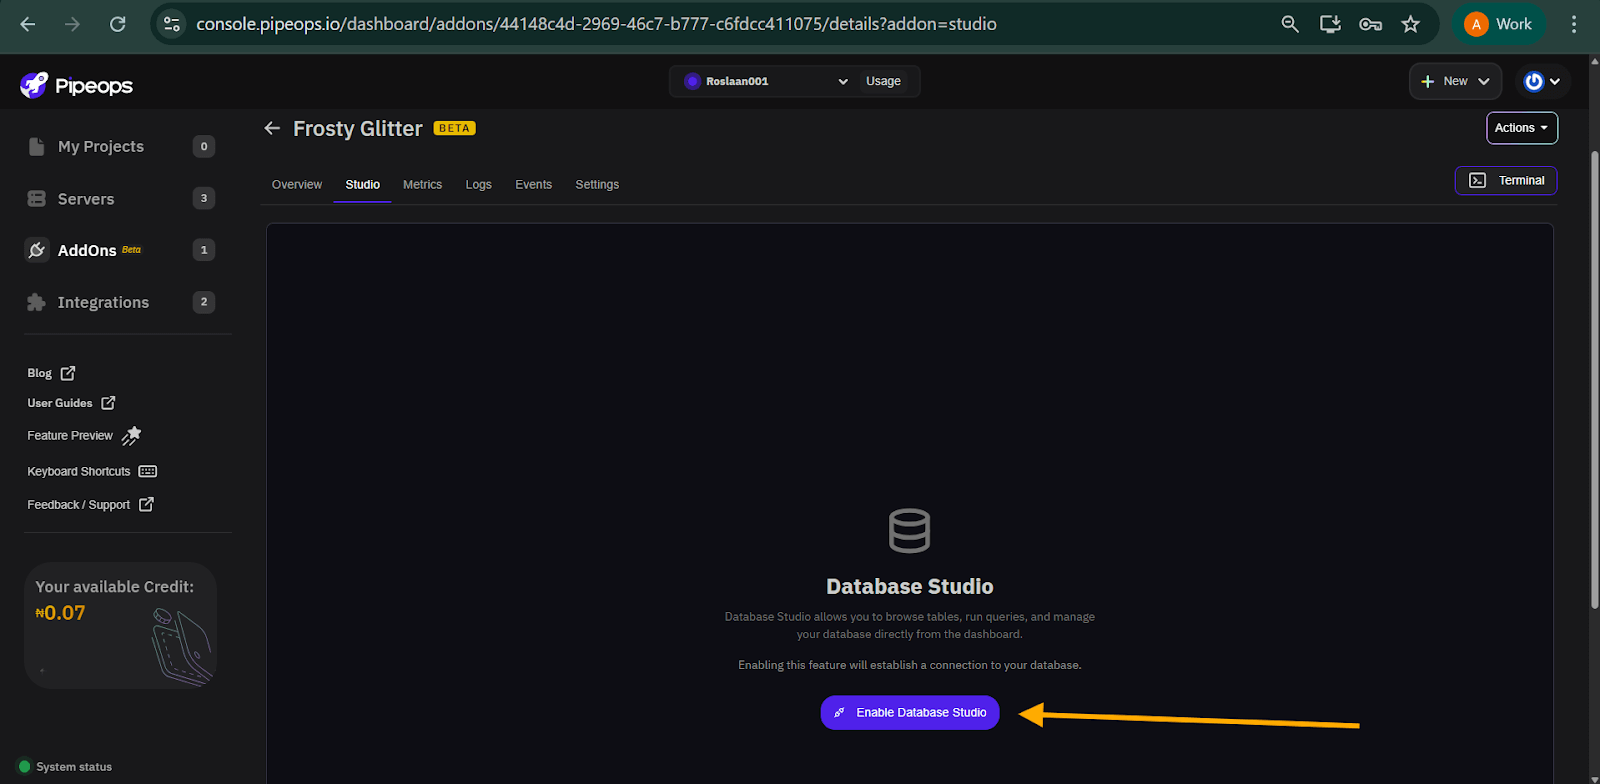
Step 2: Enable database studio
On your project dashboard, select the “Studio” toggle and click the “Enable database studio” button.
Once enabled, the Database Studio interface loads, giving you a full graphical view of your database. You can now write SQL (or NoSQL commands), browse tables, and visualize your data structure.
Step 3: Using Database Studio
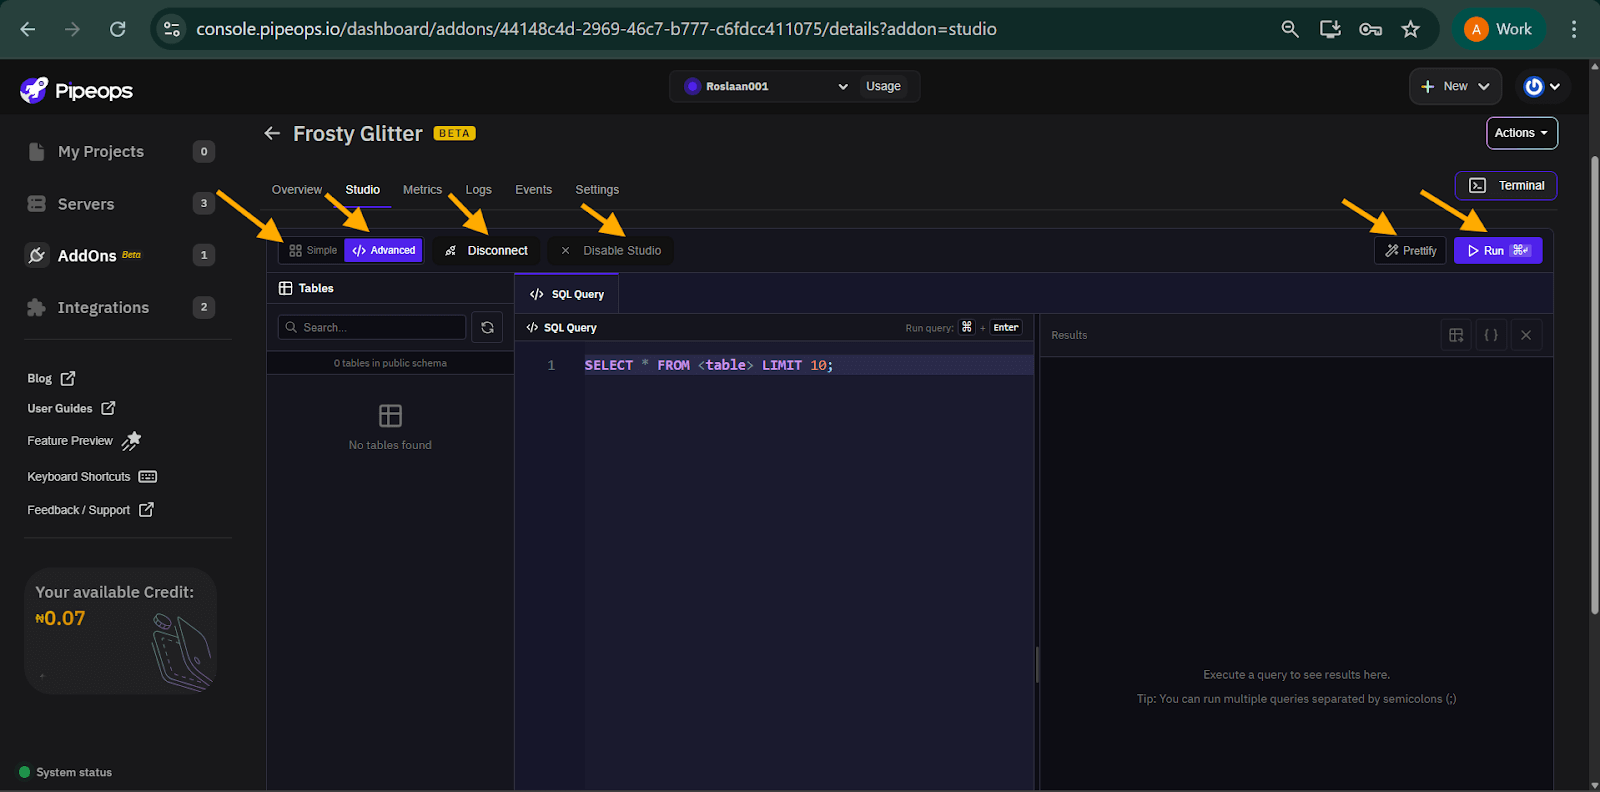
Within Database Studio, you’ll find several tools and modes designed to simplify how you interact with your database:
You’ll find modes like:
- Simple mode: Browse tables directly from the sidebar and view or edit data without writing queries.
- Advanced Mode: Execute SQL or NoSQL commands manually. This mode is ideal for users familiar with database query languages.
And Tools like:
- Run: Executes your SQL or NoSQL commands in Advanced mode.
- Prettify: Available in Advanced mode. Formats SQL queries to improve readability.
- Disconnect: Temporarily disconnects the database from the studio.
- Disable Studio: Completely disables Database Studio for the database. You can re-enable it at any time, and no data will be affected.
Database Studio is purely a visualization and interaction layer; it does not modify or delete data unless you explicitly run commands to do so.
You’re all set 🎉
You can now use PipeOps’ Embedded Database Studio with PostgreSQL, MySQL, MongoDB, and other supported databases. Try out this database studio feature for free with our 14-day free trial and experience a simpler, more powerful way to manage your databases. Click here to get started